


Windshield chip repair is a cost-effective and time-saving solution for small cracks or chips, enhancing vehicle safety and aesthetics. Using specialized kits containing resin, hardener, and tools like applicators and heat guns, DIY repairs can be done for minor chips under 3 inches. Professional assistance is recommended for more extensive damage to ensure structural integrity and optimal visual results. Regular checks and prompt action prevent small issues from escalating into costly windshield replacements.
“Unravel the art of windshield chip repair with this comprehensive beginner’s guide. Discover how to transform minor chips into clear, flawless windows. We’ll demystify the process, starting with the fundamentals of understanding chip repair techniques. From identifying suitable tools and materials to mastering a step-by-step fix for small chips, this guide equips you with the knowledge to maintain your vehicle’s safety and aesthetics. Get ready to bid farewell to pesky windshield chips!”
- Understanding Windshield Chip Repair: The Basics
- Tools and Materials Required for Effective Chip Repair
- Step-by-Step Guide to Fixing a Small Windshield Chip
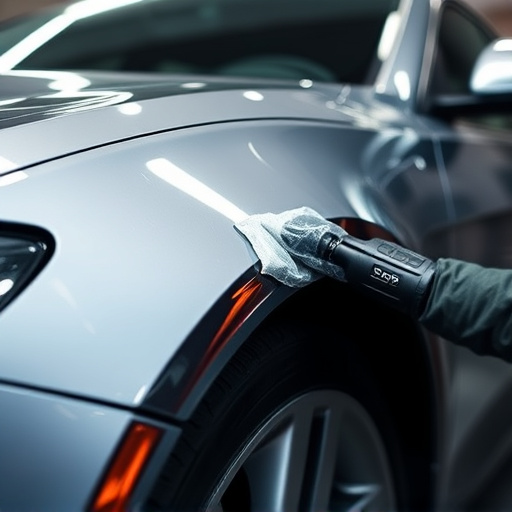
Understanding Windshield Chip Repair: The Basics

Windshield chip repair is a specialized service that fixes small cracks or chips in your vehicle’s windshield. These defects can range from mere aesthetics to significant safety hazards, as they can affect visibility and structural integrity. The process involves injecting a clear resin into the damaged area, which then hardens to match the original glass surface. This method not only restores the windshield’s clarity but also prevents further damage by sealing the crack.
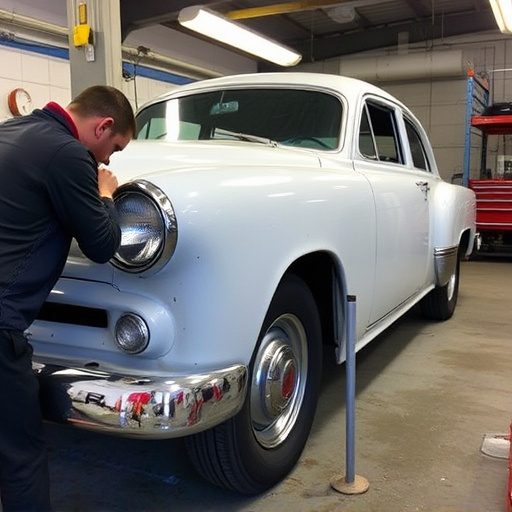
Understanding windshield chip repair is crucial for any car owner looking to maintain their vehicle’s safety and value. While minor chips may seem insignificant, they can grow over time, leading to more severe cracks that require costly replacement. Regular auto maintenance includes checking windshields for any signs of damage and opting for prompt repairs. Reputable auto repair services offer this procedure as a preventive measure, ensuring your vehicle remains safe on the road and saving you from expensive future repairs or replacements.
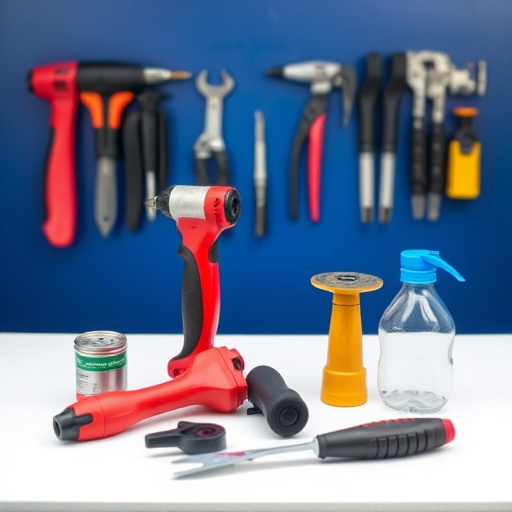
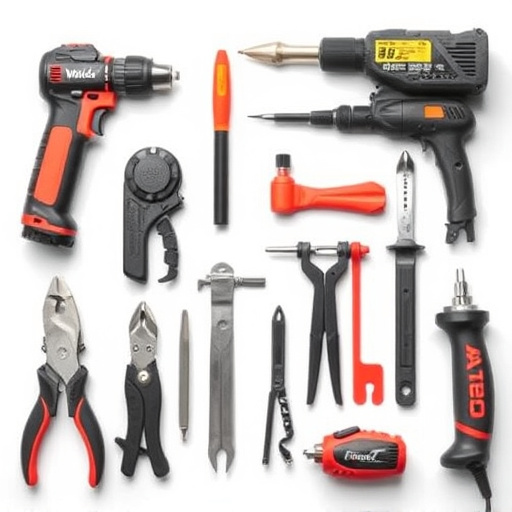
Tools and Materials Required for Effective Chip Repair

To embark on a journey of windshield chip repair, you’ll need a few essential tools and materials. At the very minimum, your toolkit should include a high-quality windshield repair kit, which typically comes with a resin, hardener, applicators, and a squeegee. These kits are designed specifically for repairing small chips and cracks, effectively restoring the clarity of your windshield.
In addition to the repair kit, consider having some extra supplies on hand, such as rubber gloves, safety glasses, and a well-lit work area. For more complex or larger repairs, you might need additional tools like a heat gun (for softening the resin) and a vacuum pump (to remove excess air bubbles). Remember, while these steps cover the basics of windshield chip repair, for tire services, frame straightening, or auto body shop-level work, seeking professional assistance is always recommended.
Step-by-Step Guide to Fixing a Small Windshield Chip

Fixing a small windshield chip is an easy process that can save you time and money, especially if you’re looking to avoid a more extensive car collision repair. Here’s a step-by-step guide to help you get started with windshield chip repair:
1. Assess the Damage: Begin by inspecting the chip to ensure it’s small enough for DIY repair (typically under 3 inches in diameter). If the chip is larger or has multiple cracks, professional frame straightening might be necessary.
2. Prepare the Area: Wash and dry the car to remove any dirt or debris around the chip. Use a razor blade or paper towel to gently scrape off any loose edges of the damaged area for better adhesion during the repair process.
3. Apply Etch Primer: This step is crucial in ensuring proper bonding between your repair kit’s resin and the windshield. Following the instructions on your kit, apply a thin layer of etch primer to the damaged region using a foam applicator or brush. Allow it to dry completely.
4. Resin Application: Fill the chip with the provided resin, following the manufacturer’s guidelines for mixture ratios. Use a toothpick or small tool to ensure complete coverage and smooth out any air bubbles. Let the resin cure according to the recommended time frame (often 24 hours).
5. Polishing: After the resin has fully cured, gently polish the repaired area with a soft cloth or polishing pad to achieve a clear, seamless finish.
Whether you’re a car owner or a professional detailer, learning windshield chip repair is an invaluable skill. By understanding the basics, gathering the right tools and materials, and following a simple step-by-step guide, you can effectively fix small chips, preventing them from spreading and compromising your vehicle’s safety and aesthetics. With this beginner’s guide, you’re well-equipped to tackle windshield chip repair with confidence and keep your car looking its best.